Getting Started
Periscope Prerequisites
- Periscope must run on a NiagaraAX station, version 3.5 or higher. Periscope version 2.4+ can only run on AX version 3.7, 3.8 or Niagara 4, however. A station is defined as an instance of Niagara running on a hardware platform, so Web Supervisors and JACEs are considered stations. It is strongly recommended that Periscope run on a Niagara Web Supervisor station due to the increased storage capacity, but it can be installed on a JACE station also.
- Any station running the Periscope service should have at least 5MB available. The Periscope module itself takes up about 2MB, and it will need room to maintain configuration and user dashboard options.
- The connected NiagaraAX station must have oBIX (Open Building Information Xchange) installed and enabled in the station’s drivers folder.
- Periscope requires the installer and end-user to install the Adobe® Flash plug-in for their browser. Users will be prompted if they have not installed the necessary files to view Periscope.
Installing Periscope
Saving and stopping your station:
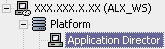
• Open your Platform and access the Application Director
• Save your running station (Save Bog)
• Stop the station (Stop)
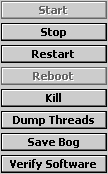
* The menu shown is located on the right side of the Application Director window
• Close Workbench
Installing jar, license and certificate files in NiagaraAX
• Using Windows Explorer, navigate to your current build of Niagara
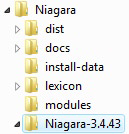
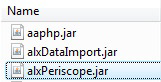
• Place the alxPeriscope JAR file in the modules folder under your Niagara build
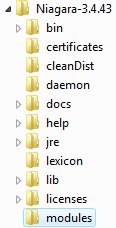
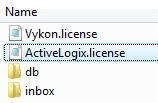
• Place your Periscope license file in the licenses folder under your Niagara build (see following section for installations on Niagara 4)
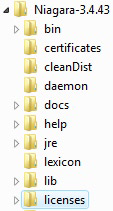
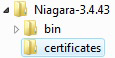
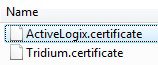
• Place your certificate in the certificate folder under your Niagara build
Installing the Periscope License in Niagara N4
In addition to the previous installation step to install the license to the licenses directory (either manually or through the license manager), the license also needs to be installed to the following folder:
- Daemon User Home: {STATION_HOME}/shared/periscope
- On a typical CPU, this will be: C:\ProgramData\Niagara-4.X\{brand}\station\{station_name}\shared\periscope and is accesible through the Niagara Home folder
- The "periscope" folder should be created if it does not already exist in your station shared folder.
N4 License Changes
Niagara 4 installations of Periscope 2.4 (and subsequent versions) require a new location for the license file due to new security settings within the Niagara software. Please see the step above for clarification on where to install your license file when operating Periscope on N4 software. You should also make sure that you have the correct JAR files/modules if you are installing Periscope 2.4 on Niagara 4, as there are different versions for Niagara AX and N4.
Adding the Periscope Service in NiagaraAX
• Open Workbench, reopen your Platform and access the Application Director

• Start the station
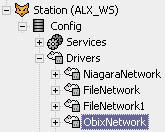
• Make sure you have added oBIX Network to your drivers if it is not already present
• Open the alxPeriscope palette
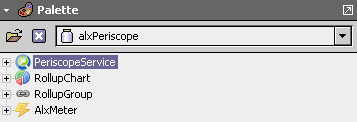
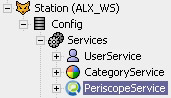
• Drag and drop the PeriscopeService from the pallete into your station's Services
• Perform the basic dashboard user setup (see below)
• After which, Periscope installation will be complete and you may open Periscope by going to http:/(IP address of the Web Supervisor/JACE)/periscope
User Setup
Users cannot be created until there is a CategoryService for the dashboard users. To set this up, first navigate to Category Service > Category Manager via the drop-down on the right side after selecting the Category Service.
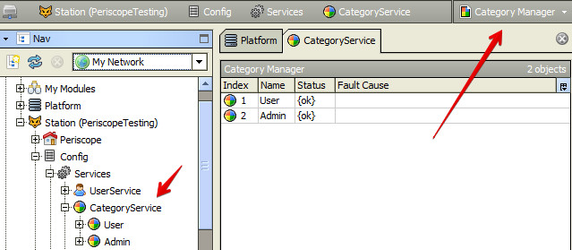
Then, click "New" at the bottom of the window to add a new category called whatever you like ("Periscope" or "DashboardUser" are recommended). When creating this new category be sure to set the index for the category to something other than zero so that it will become enabled.
All users are capable of accessing their own Periscope dashboard if they meet these requirements:
- Operator Read access to all mapped points is enabled
- Admin Invoke on the PeriscopeService, Meter and Rollover objects
- (Optionally) Periscope HTML folder if you wish for the user to be able to navigate to "/periscope" by navigating to the host server directly instead of having to type "/periscope"
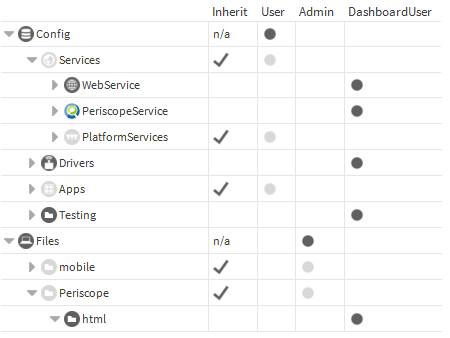
Below is an example configuration of this category (DashboardUser):
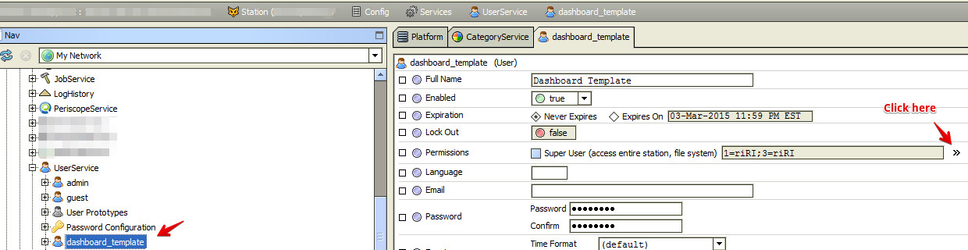
Finally, navigate to the user that was created earlier specifically for dashboard purposes and click the arrows beside "permissions". (Note: if you don't see this user, the station has not been started yet. On station start, this user will be created if it does not exist already.)
If using Niagara 4, permissions are now handled in the Role Manager. Create a new role for "DashboardUser" and follow the steps below but complete them by ensuring that the checkbox for "DashboardUser" is checked in the list of roles (once the DashboardUser role has been added).
and ensure that the newly created category for the dashboard user is set up like so:

• Periscope has now been successfully installed on your Web Supervisor!
Initial Periscope Configuration
To configure Periscope, go to http://(IP address of the Web Supervisor/JACE)/periscopeconfig and log in as a super user. Initial Periscope setup must be performed by a super user. Under the locations tab, add several locations or buildings by selecting the new location button at the bottom of the screen. Also make sure to enter a square footage and a blended rate for electricity, and other utilities as desired. At least one trend, point, meter, or web/PX page should be added before accessing Periscope. Periscope’s automatic discovery wizard will instantly import all available numeric points and trends, as well as any meters or PX pages discovered in the Web Supervisor/JACE database. Any additional variables added after the initial discovery will not show up in Periscope until the user does a manual discovery. This is done by pressing the “discover” button at the bottom of the respective variable’s configuration screen. Once configured, the user can access Periscope by going to http://(IP address of the Web Supervisor/JACE)/periscope and entering their credentials.
You can open Periscope by going to http://(IP address of the Web Supervisor/JACE)/periscope
Important Notes:
• If your dashboard locks up, try refreshing the page.
• You can delete a user’s dashboard by deleting the folder station:\files\Periscope\users\[username]
• techsupport@activelogix.com for support questions