Utility Bill Management GUI
Note: it is also possible to add utility bills via an automated CSV import path. See Utility Accounting Initial Setup for details.
Create Bill / Landing Page
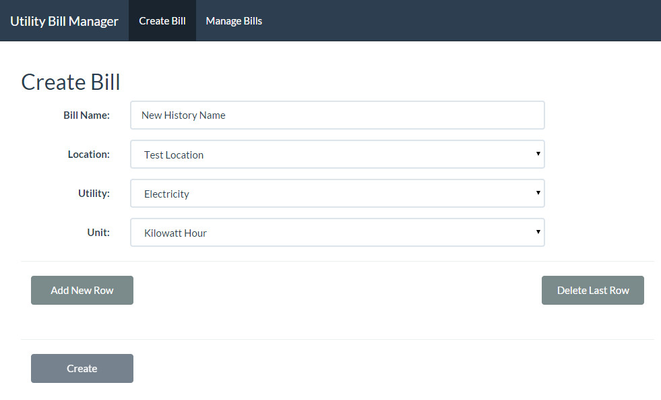
By default, navigating to http://yourserver/utilitybill will result in being directed to the landing page for the utility bill management interface.
Please note that while deleting histories is possible via this interface it requires the user logged in to have super user level access in AX.
Form Options
- Bill Name: this is the dashboard trend name that will be used to represent your utility bill as well as it's Virtual Trends. (i.e. "New History Name" will create a utility bill trend as well as virtual trends named "New History Name Consumption", ".. Demand", ".. Cost")
- Location: all locations present in this selection come from the configured locations in the dashboard configuration. Allows automatic trend mapping to specific dashboard locations.
- Utility: that this trend represents.
- Unit: of consumption and demand. If the unit needed is not available please let us know at techsupport@activelogix.com.
- Add New Row: creates a new row on the end.
- Delete Last Row: deletes the last row of the utility bill.
- Create: finalizes the utility bill (see below).
Bill Creation
After selecting "Create" after completing the data-entry portion, two things happen behind the scenes that enable users to focus more on doing and less on administration.
- A new AX history is created underneath the UtilityBills history device with all other Utility Bill histories.
- The new history and it's Virtual Trends are mapped to the location specified for immediate use with viewlets without having to access the trend configuration.
The header of the page will alert to whether or not this process was successful or if any problems were encountered (such as histories with the same name).
Row Addition/Deletion/Editing

- Start Date: is start of the period of the bill in which you were given a cost, consumption and demand
- End Date: for that period. Note that it is expected for this end-date to overlap with the start-date of the next row if there are no gaps in your utility bill.
- Cost: bill for the billing period. Cost type ("dollar", "euro", etc.) is determined based on the global cost unit property in Periscope Configuration.
- Consumption/Demand: self-explanatory. Units selected via the "Unit" form option on the main bill. Consumption and demand units must be matching.
Regarding Data-Entry
For fast data-entry, hitting tab in the last element of a row will create a new row automatically.
Bill Management
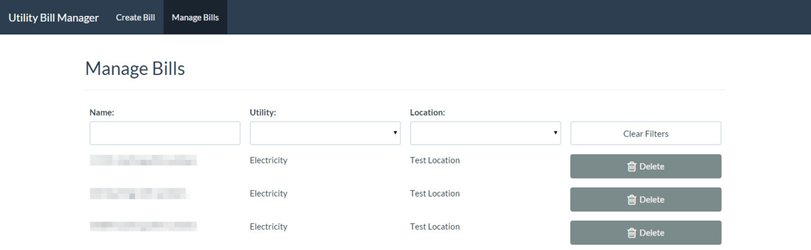
In the bill management area, it's possible to filter bills by name, utility, or location and then click those bills to edit them as well as delete them (if the user logged-in has sufficient privilege through having super user access in AX).
Note that when deleting a utility bill that the effect is permanent and irreversible. As such, an alert prompts the user to confirm the operation.
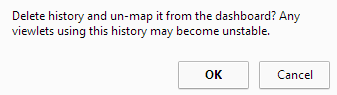
Un-mapping the associated trend and virtual trends is automatic so again, the user does not have to revisit the configuration page for additional setup. See Periscope Configuration for more details pertaining to the main functions of configuration.
Viewlets Used with the Utility Bill Manager
Once you have created/edited new bills, analyze the compiled data with viewlets that look at cost and consumption. Such as:
Resource Consumption Viewlet
Dual Axis Viewlet
Utility Accounting Viewlet
Utility Accounting Viewlet specifically provides a great overview of a location as a whole since a location may have multiple utility bills of the same type (chilled water for example). Utility Accounting combines these bills to provide one read-out for the time period for the utility.