Hierarchies / NavTrees (SkySpark)

Relations created in SkySpark's folio database result in hierarchies (called "NavTrees" in SkySpark) that are generated automatically in the Builder app as well as Periscope. After tagging these Refs, a user's current hierarchy can be viewed in SkySpark in the Builder app. This is a good way to check the outcome of the relations a user has created.
To edit a hierarchy by creating an additional tier or level outside of the common Site > Equip > Point structure discussed in the documentation up to this point, a user will need to complete several steps:
- Determine a tag for this new level in the hierarchy. For the purpose of this explanation, we will use the tag "campus" which would reside at the top level of the hierarchy, above any predefined sites.
- Tag your campus level(s) in the same manner you would tag a site or equip.
- Create references between all existing points, equips and sites to the newly defined campus level record. Ideally, this level of hierarchy would have been created when relation marks were being added between levels previously.
- The user now needs to edit the specific project's navMeta. Navigation meta information is stored in a special record that can be queried in folio.
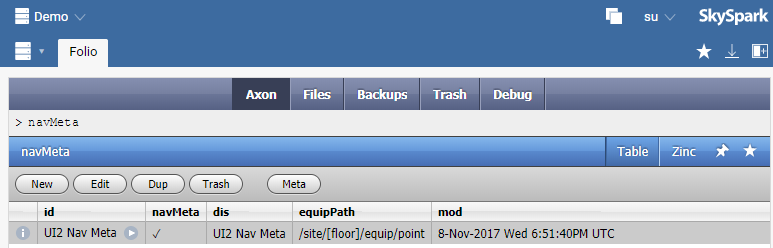
- Here, to reflect our earlier campus changes, we would want to change equipPath to be "/campus/site/[floor]/equip/point" to indicate that at the top level there should always be a campus. This will immediately take effect and be visible in our Builder app and Periscope after a refresh.
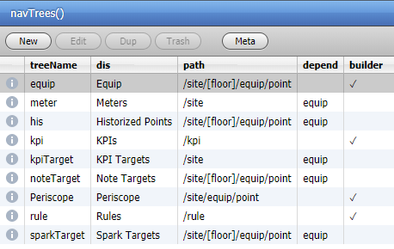
- To see all navTrees available in a project you can execute the navTrees function in the Folio app. This is the same function that is invoked to populate the hierarchies dropdown inside of Periscope's general settings view.
For more detailed information surrounding Nav Trees please see the official SkySpark documentation (requires login).