Virtual Utility Meters Viewlet
 : This Viewlet requires additional Niagara AX setup/configuration. Contact your distributor or Activelogix for details.
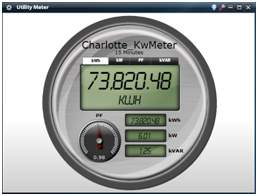
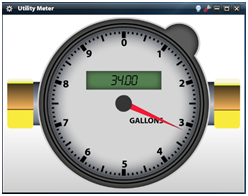
This Viewlet has been expanded to contain three types of virtual meters: Electric, Water and Gas. Multiple Meter Viewlets may be used simultaneously to display information from different meters and can be configured and used on multiple dashboards. The Electric Meter can be used to simultaneously display four configurable variables which default to KWH, KW, KVAR and Power Factor. The parameter shown on the Main display is user selectable. The Water and Gas Meters can display flow and consumption.
The Virtual Utility Meter Viewlets are configurable through Periscope, but must be set up in Workbench before it is functional.
Electric Meter Configuration
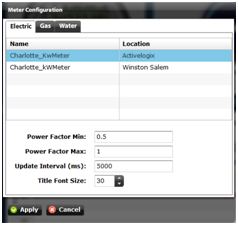
The Electric tab of the Utility Meter configuration is used to setup electric meters from the mapped meters in the Periscope database. Additional options include the ability to change power factor range, update interval, and title font size.
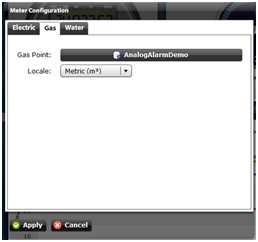
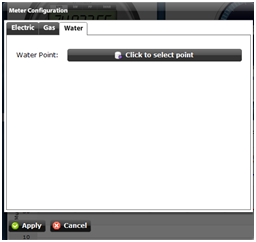
Gas/Water Meter Configuration
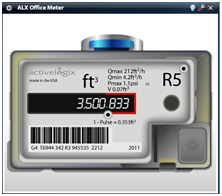
The Gas and Water configuration dialogs are very simple and similar. Each tab contains a Point Picker to choose the appropriate consumption point. The Gas tab also includes the option to manually set the units to Standard (gallons) or Metric (m ³). The Water meter will automatically display the unit of the selected point.
Editing Units of Electric Meter
The Electric Virtual Utility Meter can now be configured to display any unit rather than the default kWh, kW, PF, kVAR. These can be configured by editing the DisplayNames of the slots in the corresponding Meter Component.
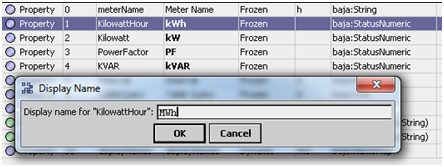
To edit the DisplayName of a Meter object, first go to the Slot Sheet view (right click > views > Slot Sheet). Next, double click on the variable you would like to rename.
Electric Meter Initial Setup
Before using the Virtual Electric Meter Viewlet, the user is required to make a few easy connections within Workbench. Below is an example of a configured meter shown in a file tree on the left, and in a wire sheet view on the right. Only four connections must be made to the in slot of the AlxMeter object, one for kWh, kW, power factor, and kVAR. Once the meter has been created and the necessary links have been made, the user should go to the periscopeconfig browser and map the new meter.
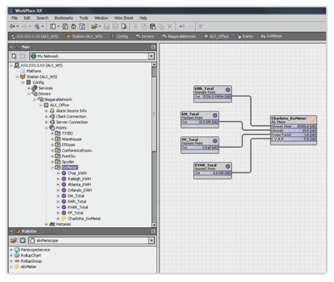
The meter object is a simple setup, only requiring four connections to be made.
Palate Object
The object required to create a Virtual Electric Meter Viewlet is located inside of the alxPeriscope palette. After opening the palette, the Meter object should be added in any location the user wishes to create the meter. As seen in the depiction above, adding it to a point folder is a good idea due to the required points which must be added and linked to the correct slots of the meter object. An incorrect linking of points will result in an incorrect meter display within Periscope, as the viewlet itself cannot discern between the different measurements of consumption.
Once the palette object has been added to the station, a Discovery on the Meters tab of periscopeconfig will display the new meter. Once the Meter object has been mapped, Electric Virtual Utility Meter Viewlets will be able to display the meter.
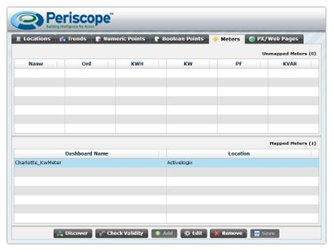
Be sure to map the newly created meter within Periscope’s configuration browser. Here the user can give the meter a name and assign it to a location.